


Our worm farm at the bottom of Microsoft House has been busily recycling organic waste since early Autumn this year. The 20,000 special composting worms have been converting our food waste into something special – a fantastic natural, organic fertiliser and plant food.
This is being used to help nurture the plants which in turn help our insects (including the bees on the top of the Air New Zealand building), and ultimately help us and the environment. Harbour Grounds worm farm is a bit of a beast but there is nothing to stop you building your own worm farm at home – on a more modest scale. It is a great Spring DIY project.
Ben Bell, from Hungry Bins, says it is simple.
“The first step is to care about the environment and to champion its protection. Installing a worm farm is a great step to take,” he says.
Backyard environmentalist
We are all aware of the impact of global warming. We understand we need to do something, but we can feel powerless to make a start. What can I do in the face of such a complex and monumental problem?
Vermiculture is a start.
Using worms to manage our organic waste reduces the need to collect, transport and dump waste in our landfills, where they rot. This produces harmful greenhouse gases and doesn’t allow carbon and nutrients to return to the environment. Worms are natural waste managers and fertiliser-producers, eating up to half their body weight each day and reducing the volume of waste by up to 90% in a few months.
The worm castings, or worm tea, are akin to multi-vitamins for plants. Just one tablespoon can fuel a plant during its growing season.
Getting started
You need something to keep your worms in. This can be a purpose-built worm farm container or something more organic – a plastic box, a bucket, or a chest of drawers.
Step 1
Your worms need to breathe and excess water (and worm tea) needs to be able to drain and collect. Start by drilling some holes in the bottom of your container. Do the same for your lid.
Aeration will keep the worms healthy and happy but also help break down your food scraps.
Step 2
To the bottom of your container, add damp shredded paper. This could be an old newspaper or a cardboard box. This layer should be between 8 – 10cm thick.
Step 3
Add your worms. Put the lid on your bin and leave them to acclimatise for a few days before you start to feed them your food scraps. Your worms will eat about a cup of food in a few days (up to a week). It is worth keeping a journal to see how quickly your worms are consuming the scraps so you can adjust feeding.
TOP TIPS:
– Rotate the areas of feeding to ensure all the worms are fed equally and tuck some scraps under the bedding to stop fruit flies. A damp tea towel also does the trick.
– If your bin starts to smell of rotting food, you have overfed your farm and you should stop feeding the worms until the smell dissipates.
– If your worm farm is too moist, tear up strips of newspaper (or other paper product) and add to the top of the farm. This will soak up the additional water.
Step 4
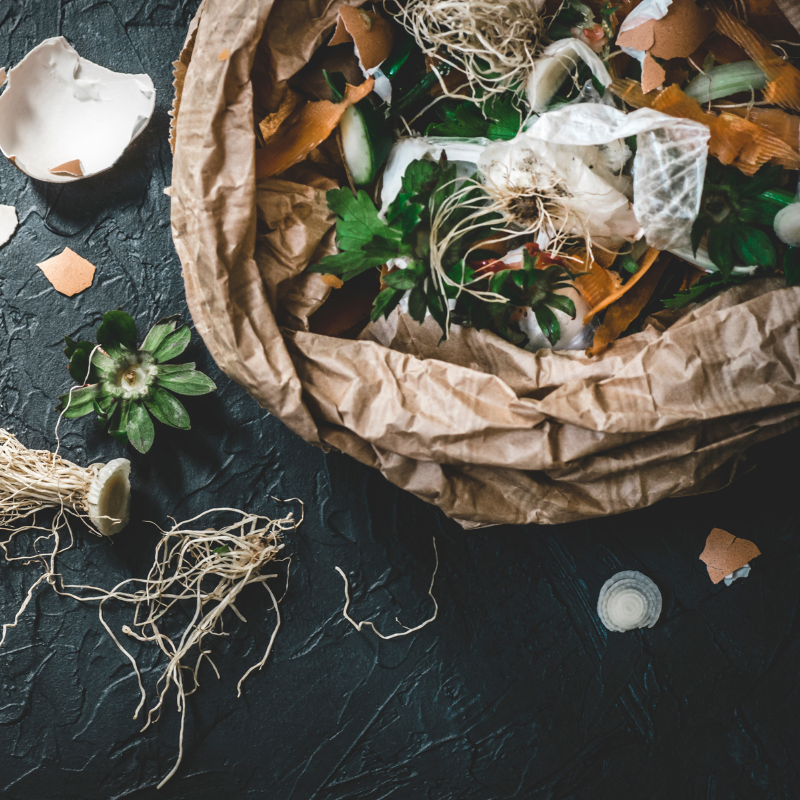
Your worms love organic waste – food scraps, eggshells, paper and even the contents of your vacuum cleaner they will happily compost. They are less keen on carbs, protein, and grease – like us, it takes them longer to process.
Step 5
Harvest your rich organic fertiliser and tea. The first harvest will take about 3-6 months – which might seem like a long time but is much faster than a traditional compost bin.
So, get going ….
There are so many benefits to a worm farm. Anyone can build one, it does not matter if you have a garden or a balcony in town and it is a great project to instruct children about recycling, natural processes, and the environment.
It is fun.
It helps to tackle climate change.
It is a low cost, low tech, environmental solution with huge benefits.